a) cost
b) time required to fabricate and receive
c) I wanted the challenge of making my own
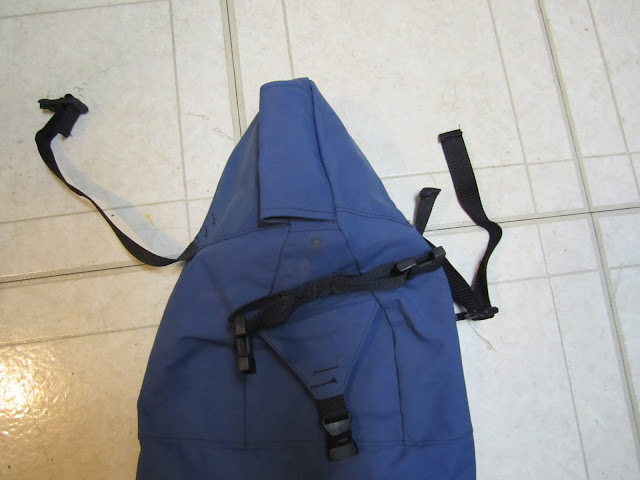
I thought about what I wanted for a long time and even sketched out a basic design starting with a normal stuff sack. The more I thought about it though, I wanted a tougher material that had a little more integrity to its overall structure. I stopped by an Army/Navy Surplus store to pick up some material to make the straps and I started looking at stuff sacks, but nothing was really working for what I had in mind. That's when I got the idea of using a dry bag. I picked one up for 20 bucks at REI and for the last couple of days I have been figuring out the best placement for the straps and working on attaching them.
Here is what I started with. I wasn't too keen on the red color, but my other option was some weird green. So I went with the red hoping it would look somewhat decent with the red on my bike:
Perfect for what I wanted. Waterproof, but also, it is expandable and collapsible and has a TON of room for its light weight.
I originally just superglued the straps as a temporary means of holding them in place, with the intent to return later and hand sew them securely. The glue worked amazingly well. I tested it out by pulling the straps away from the bag and I could not pull them off.
Hmmmmm, maybe I could get out of stitching them on...
Bad idea. They have to be reinforced with stitching.
Ugh!
So here are some pictures of the bags on my bike. I am anxious for my sleeping bag to arrive and fill the seat bag with everything. For purposes of these pictures, I just shoved some dirty socks and towels (very easy to find on my floor) in it to provide some shape:
As you can obviously see, this isn't exceptionally complicated. The strap is not meant to go over the seat, it is just the extra length I had not cut off yet when I took the picture. I am happy that the attachment system is really secure. It doesn't sag at all and has plenty of clearance. I have not ridden it on anything but the grass (uh, snow) in the backyard, so I may be starting completely over after I ride tomorrow with it. I am optimistic though. It's so simple and I left the middle strap completely detached so I can adjust its location and angle as needed once I am on the trail.
My goal is to go with a very minimal, but well planned and intelligent setup, with some room for adaptability and trailside modification. That in itself will be a big key for me in races like the AZ 300 and the CTR. I am going to forego a handlebar bag because all the gear I need is going to fit into what I have now.
My 24 OP partner, Erick, lent me his seat post bag to try out as well. I will definitely give it a go and compare the two out on some local singletrack to get a feel for the differences. He handmade this bag and used it last summer. This thing puts my creation to shame as far as design, craftsmanship and complexity...Wow. Very impressive.
This picture doesn't do it justice, but when I try it out, I will definitely post a few.
Setup nearing completion. Stay tuned.


No comments:
Post a Comment